Croissants are possibly my favorite thing. I use a base recipe from Jacques Torres (from Dessert Circus) – but have tweaked things slightly over the years I’ve been making them. (I’m trying out the Tartine SF croissant recipe from their bread book right now – it’s breadier than I like my viennoiserie).

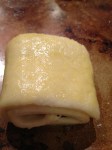
Croissant Dough _ rolled and egg washed.
A friend asked me to try to make gluten free croissants, and since I like a challenge, I started trying out adaptations. I made 3 or 4 different batches, and of course the first one I made was the best, but the last one was also good (it’s richer in texture and flavor).
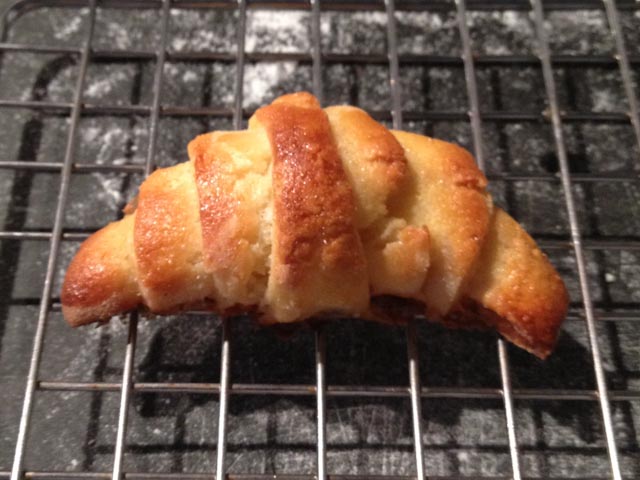
These seem to come out crunchier on the exterior, I think due to rice flour. This dough is much more fragile than regular croissant dough, which is already pretty fragile. There isn’t really a way around this, since gluten makes the dough tougher.
At this point, I guess I should tell you that making croissants is a lot of work. But I think folks who can’t eat gluten are willing to put in the elbow grease to have something tasty that won’t make them feel deprived.
First you need a gluten substitute for bread flour. I made some small adaptations to this gluten free All Purpose Flour recipe.
So, assemble everything called for in that recipe. You’ll want a decent size, sealable container, so you can shake this up to mix it.
0.0 – Gluten Free Bread Flour
Ingredients:
- 127 grams________________ brown rice flour
- 153 grams ________________ white rice flour
- 150 grams ________________ tapioca flour
- 206 grams ________________ sweet rice flour (mochi flour – you can find it in the japanese section, or store)
- 1 TBSP ___________________ xanthan gum (sometimes in the baking section, Red’s Mill makes it, or online)
Instructions:
- Mix in a jar.
- This should be enough, but you will need enough to dust the work surface with it.
1.0 – croissant dough
Ingredients:
- 20 grams ____________ unsalted butter (melted and cooled)
- 20 grams ____________ compressed yeast (specialty stores have it, red star makes it, or sub. 1/2 tsp active dry yeast)
- 66 grams ____________ water (room temp.)
- 250 grams ___________ gluten free bread flour
- 6 grams _____________ salt
- 32 grams ____________ sugar
- 67 grams ____________ whole milk
- FOR LATER:
- 125 grams ________________ butter (at room temperature, malleable)
Instructions:
- In the same bowl you used before, start beating the butter, for a few minutes, till it’s broken up but not too fluffy.
- Add the flour and beat till it is just combined.
- Turn the mixture out onto plastic wrap, and quickly shape into a rectangle about the same size as the previous one.
- Wrap and put in the fridge for at least a half hour.
Instructions:
- Dissolve the cake yeast in the water, breaking it up with a fork so there are no lumps. (if using active dry yeast, skip this step, but make sure to still add the water to the recipe)
- Mix the “flour,” sugar and salt in a stand mixer, with the paddle attachment.
- Add in the milk and water+yeast mixture, as well as the melted cooled butter.
- Mix till the dough just comes together.
- Turn the dough out onto a floured work surface (I work on a cutting board, so I can make sure it is super clean and doesn’t have traces of gluten)
- Form the dough into a ball, and wrap in plastic wrap.
- Let the dough rest for 30 Minutes
- 30 Minutes later.
- Roll out the dough into a rectangle (about 5×10 – depending on the size of your work surface).
- Spread the softened butter over two-thirds of the dough – use a dough scraper, or off-set spatula – or your hands if you want)
- Once two-thirds is covered in butter, fold over the portion that is not buttered, onto the butter, then fold the other buttered side over. (Letter Fold – see below for diagram)
- Immediately roll the dough out into a rectangle again, and letter fold it again.
- Wrap in plastic wrap and put in the fridge for 1 or 2 Hours.
- 1 or 2 Hours Later:
- Roll the dough out into a rectangle again.
- Book fold the dough (see below for diagram)
- Re-wrap the dough, and put it in the fridge for 1 to 2 Hours (you can do overnight if necessary, this is also a good point at which to freeze dough for the future)
- Roll the dough out again.
- Letter fold the dough.
- Pop it bake in the fridge for 30 Minutes.
- Roll out the dough into a rectangle, and trim the edges.
- Now you will cut long triangles out, alternating which side of the dough has the point, and which has the base of the triangle.
- The width of the base determines the size of your croissants. I like mine small (I gained like 15 lbs after learning to make croissants, so now I moderate my intake) – I aim for 2 or 3 inches on the base.
- Be very careful in rolling these up, that you don’t rip the dough, or have it split. If it does split, dab some water on and press the dough back together.
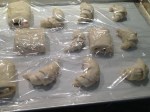
- Prep a sheet pan WITH EDGES – BUTTER LEAKAGE = BURNING, line with parchment paper.
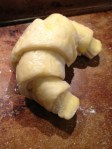
- Roll up all the croissants, and dab the tip in water to stick it down, so they stay rolled.
- Cover the croissants with plastic wrap, and let proof (sit out, in a warm but not hot place to puff up one last time) for 1 to 3 hours, depending on the room temperature. They won’t get too much larger, but they’ll look puffy.
-
Pre-Heat the Oven to 415° F
- Make an egg wash with 1 egg, and 2 TBSP milk – beat the mixture.
- Brush the croissants with the egg wash.
- Once you’ve brushed them, put them in the oven immediately.
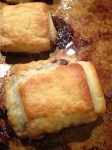
- Bake for 15-20 minutes. Keep an eye on them, to make sure they don’t get too brown, since rice flours seem to brown faster than regular flour).
- Move the croissants to a clean sheet pan to cool, so they don’t sit in the leaked butter.
For the richer tasting version I mentioned, add 1 egg to the initial dough mixture, and follow all the other instructions.
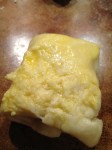
If you want to make chocolate croissants, cut the dough into rectangles, and place some pieces of chocolate a few inches from one end – brush some water next to the chocolate, and fold the dough over the chocolate. Then place some more chocolate on that fold, and fold over the first chocolate filled section.
Fold the excess dough over, brushing with water so it sticks closed.
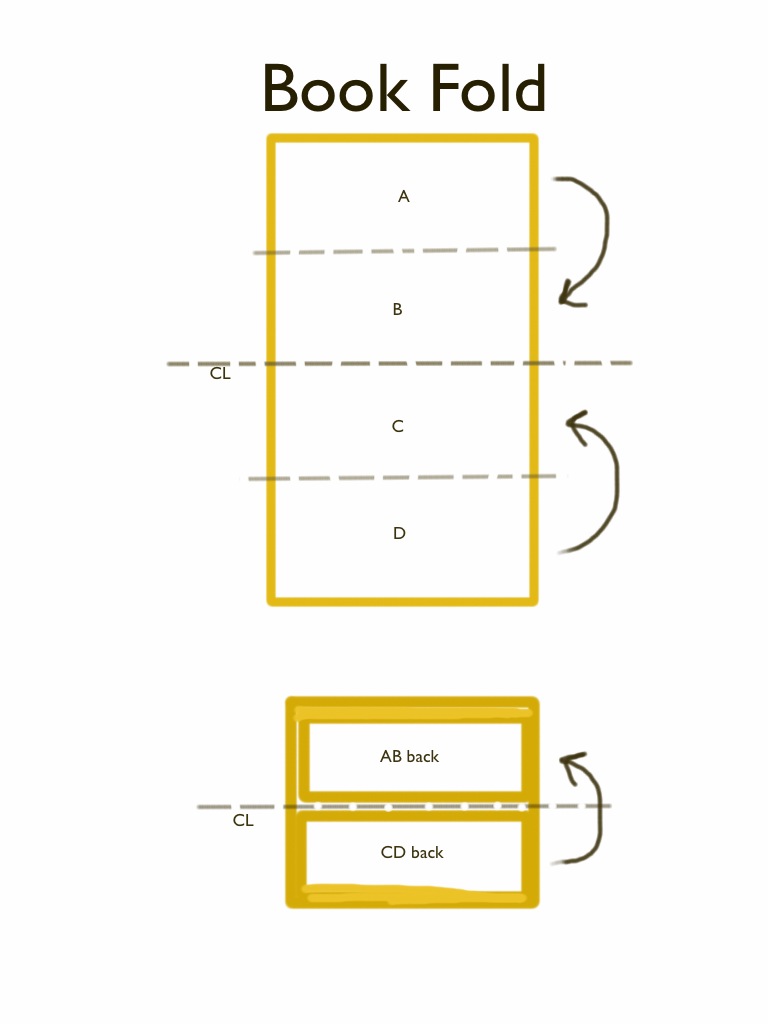
Book Fold Pastry
Mentally divide into 4 sections (a, b, c, d).
Fold a onto b.
Fold d onto c
fold c+d onto a+b.

Letter fold Pastry
-

- Rolled Croissant dough
-

- Croissant Dough, Resting
-
- Be careful while brushing with egg wash.
-

- Croissant Dough _ rolled and egg washed.

-
- Chocolate Croissant
-
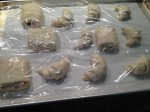
- Croissants Proofing
-
- Croissants Proofing
-

- Gluten Free Croissant

Posted on April 19, 2013
0